
Good Evening!
Today I had the busiest day ever! In fact this week has been pretty busy, so that's why I haven't posted up anything new yet :(. I have lots of reviews waiting to be edited so that I can post them up, so watch out for those soon! I also really wanted to do a Valentine's Day post, but I had a huge mid-term today and wasn't able to post up anything for the week, so I apologize for that. I'm working on some St.Patrick's Day stuff though, so lots of fun posts to come :)
 |
| Valentine Hello Kitty and the Puppy I got for Valentine's Day from my boyfriend ♥ |
I had an absolutely amazing Valentine's Day though, it was so lovely and I had so much fun! For my housemates (I have 3), I made some Crayon Hearts from a link to a tutorial that I posted up before by Whipper Berry. They turned out beautifully, and can really be made into any shape as long as you have the baking mold for it! *hinthint!* (Easter!)

Here's a summary of the steps for those who don't have crayons lying around the house: (and some tips!)...
Crayon Hearts
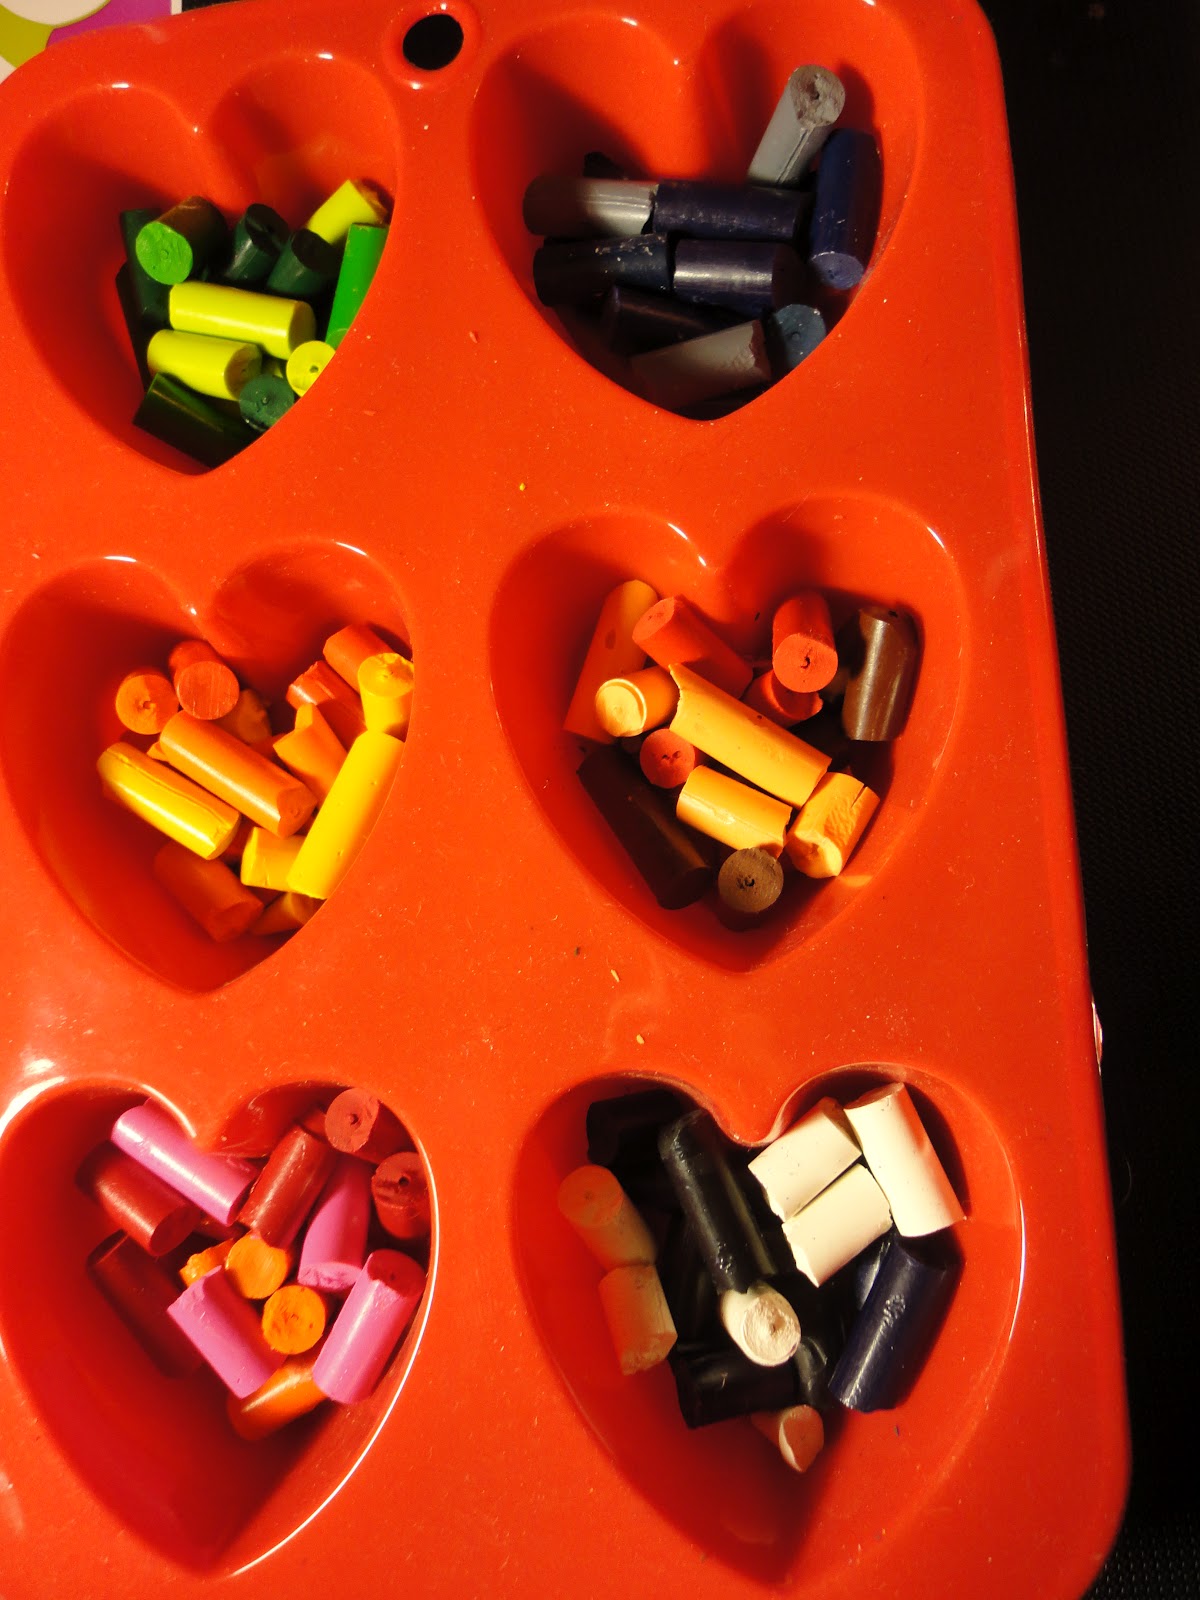
1. Go to your nearest Dollarama and pick up a silicone baking tray and a box of crayola crayons. I used 3 crayons per heart, you can choose to put in more/less. A box of 24 crayons for me makes 8 hearts (or 6 hearts and 6 crayons left over)
*It is highly recommended that you use a SILICONE mold, because then you can "fold" it and help the crayon out after it's cooled down. If you're using a baking pan, it definitely be more difficult.
3. After you've got your crayon groups, start taking the paper off from the crayons. I used a pair of scissors to slice a line down the paper, and it opened up. Don't worry if you cut into the crayon a bit because it will not make a difference to how it turns out inside the heart (it will be melted anyway)
4. Break the crayons into about 4-5 pieces each, I like the smaller pieces because then you can really see the colors once it melts, you can choose to have bigger pieces if you'd like.

5. Put the broken pieces of crayons in the silicone tray and put the silicone tray on a baking pan (so that it doesn't fall through your oven when the wax is all melted). The baking pan also helps with keeping the tray steady when you take it out.
6. I followed Whipper Berry's instructions with the baking and it turned out really great for my crayons. The oven is at 300 degrees Fahrenheit and you bake it for 15 minutes.
WARNING: The smell of wax is atrocious! I did NOT like the smell of it at all; it smelled like burning plastic! So turn on your kitchen fan/open your windows/keep the Febreeze handy while it's baking!

7. Once the wax is melted, take the tray out of the oven and let it cool for about 2 hours. Be sure to not move it around too much! I wanted it to be completely cool before I took the mold off, just in case it fell apart (that wouldn't be good!)
8. Done!

This was a super easy and fun craft, and it's so creative and pretty! I would say that this is a good party favor, I'm sure that guests would love to receive these adorably shaped crayons (especially children!).
 |
| Pretty Flowers for Valentine's Day ♥ |
See you all soon!
♥,
Christina
Would definitly try this out...soo cute :)Love your blog! I follow you, really enjoy reading your posts, would love you to check out my blog and follow back :D
ReplyDeleteThank you! :) I checked out your blog too and it's got wonderful posts and reviews! I followed back!
Delete